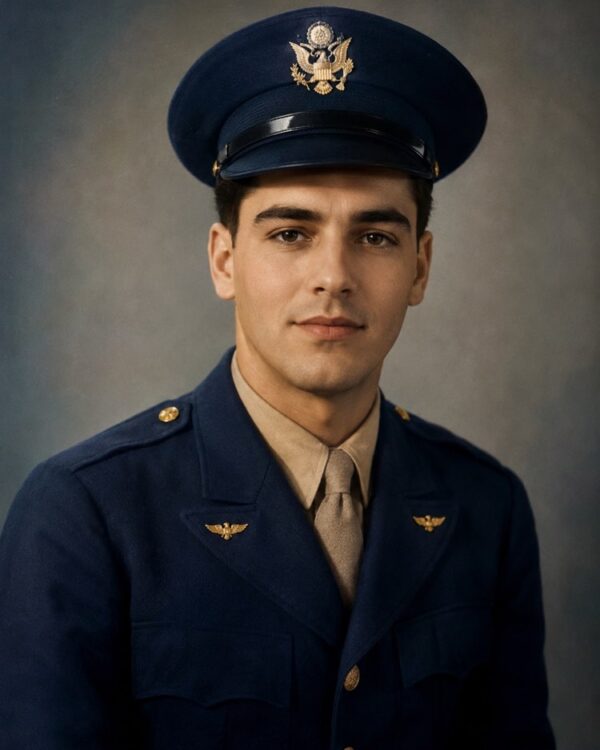
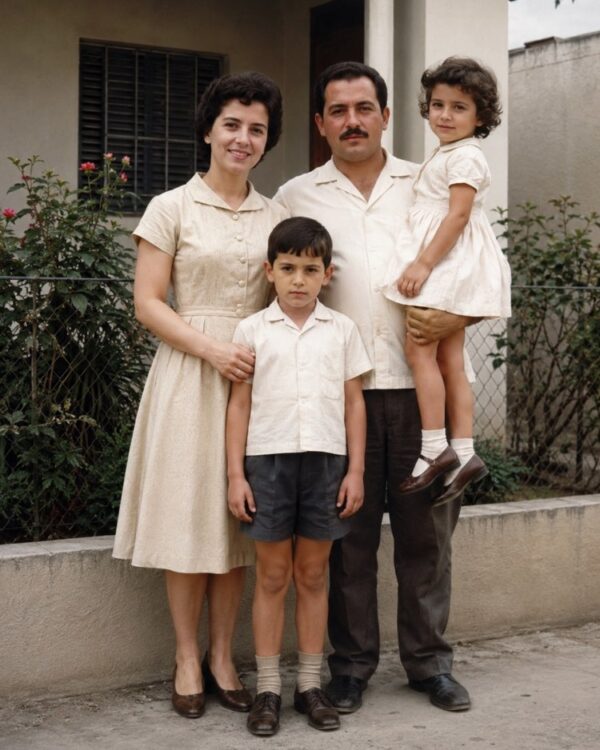
 Prompt
Colourise Black and White Photos With AI: A Guide

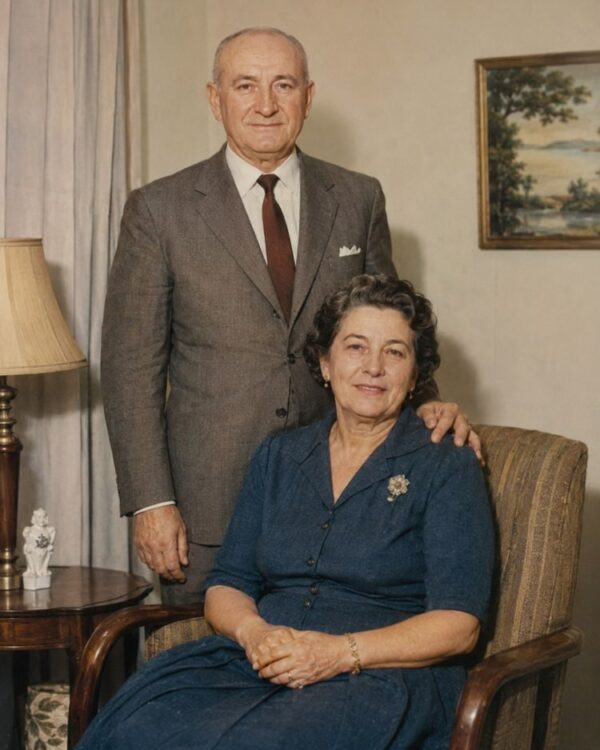
The shoebox is right there in the cupboard, with your grandparents’ wedding portrait in it. It is beautiful and it is grey, and you have already tried to imagine what colour that dress was. Your mother remembers the bouquet. Your aunt swears the tie was blue.
Colouring that photo stopped being a lab service and became a five minute conversation. What nobody tells you is the right order: colouring before repairing the damage gives you a colourful torn photo, and colouring without saying anything gives you a dress that never existed. The next 8 minutes cover the sequence that works and how to fix the wrong colour in your second message.
The golden rule: AI does not discover the colour, it bets
Keep this sentence, because it explains everything else: the colour information is not in the photo. Black and white film recorded brightness, not pigment, and a dark red dress and a navy one could have become exactly the same grey. When AI colours, it is not revealing anything: it is betting on the most likely colour for that kind of object in that era.
That changes what you should ask for. Colourise a Black and White Photo With Natural Tones works with plausible, restrained colour, which is exactly what you want on the first pass. The bet turns into a hit when you add the information only the family has, and that is one sentence in the second message, not a longer prompt.
Before colouring: photograph what you have properly
Almost every bad result starts here, not with the AI. What you upload is a photo of a photo, and it needs to be a good one:
- Window light, never flash. Flash bounces off glossy paper and wipes out half the face.
- Take it out of the glass and the frame. The reflection enters the image and the AI treats it as part of the scene.
- Phone parallel to the photo, straight above it. A tilted shot arrives distorted and comes back with a stretched face.
- Frame the paper only. The table around it does not help and it steals resolution from what matters.
- One photo at a time. Two in the same frame and the AI blends the two scenes.
If the photo is glued into an old album, do not force it off. Photographing it in place, with good light, beats tearing the only copy that exists.
Every kind of colour damage has its own route
Old photos do not fade in one single way, which is why a generic prompt delivers so little. It is worth identifying what happened to yours before choosing.
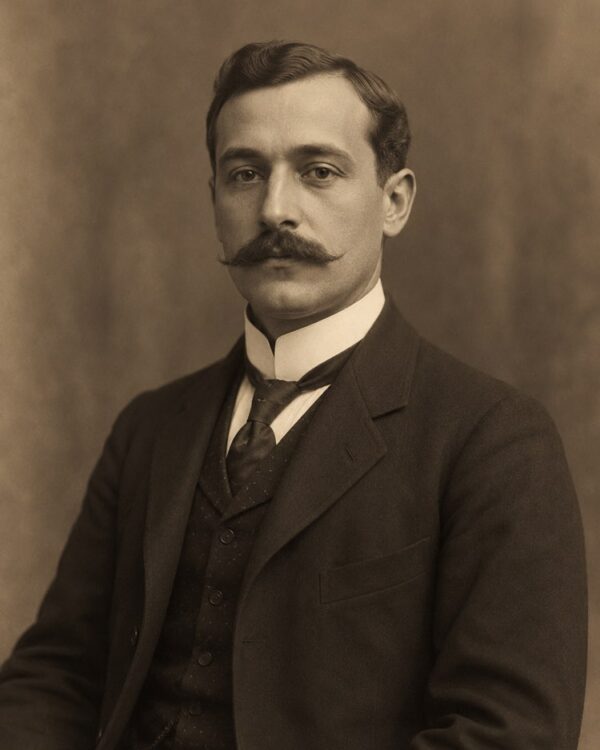
The brown studio portrait, the one in an oval frame, is not black and white: it is sepia, and treating it as black and white erases the mood it carries. Restore an Antique Sepia Portrait Without Losing Its Mood exists exactly for that. The square white-bordered photo from the seventies, meanwhile, has usually turned green, and Recover a Faded, Greenish Polaroid brings back contrast without inventing saturation.
The colour photo that lost its colour
There is one case that is not colourisation and everybody confuses it: the photo that was born in colour and faded. Here the colour information is still on the paper, only weak and skewed, almost always towards orange.
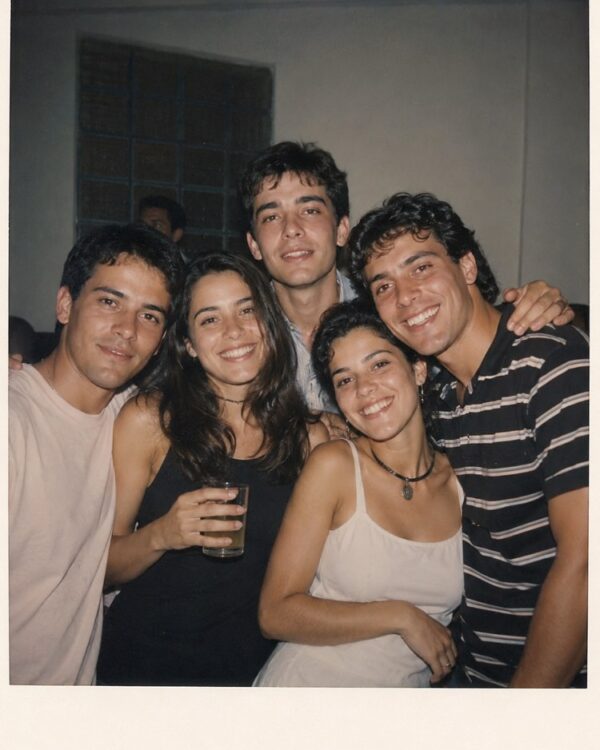
That is recovery, not invention, and the result is far more faithful. Revive the Faded Colours of Eighties Photos rebalances what is left instead of painting over it. And when it is the official graduation photo, usually black and white and damaged by handling, Restore and Colourise a Graduation Photo puts both steps in the right order.
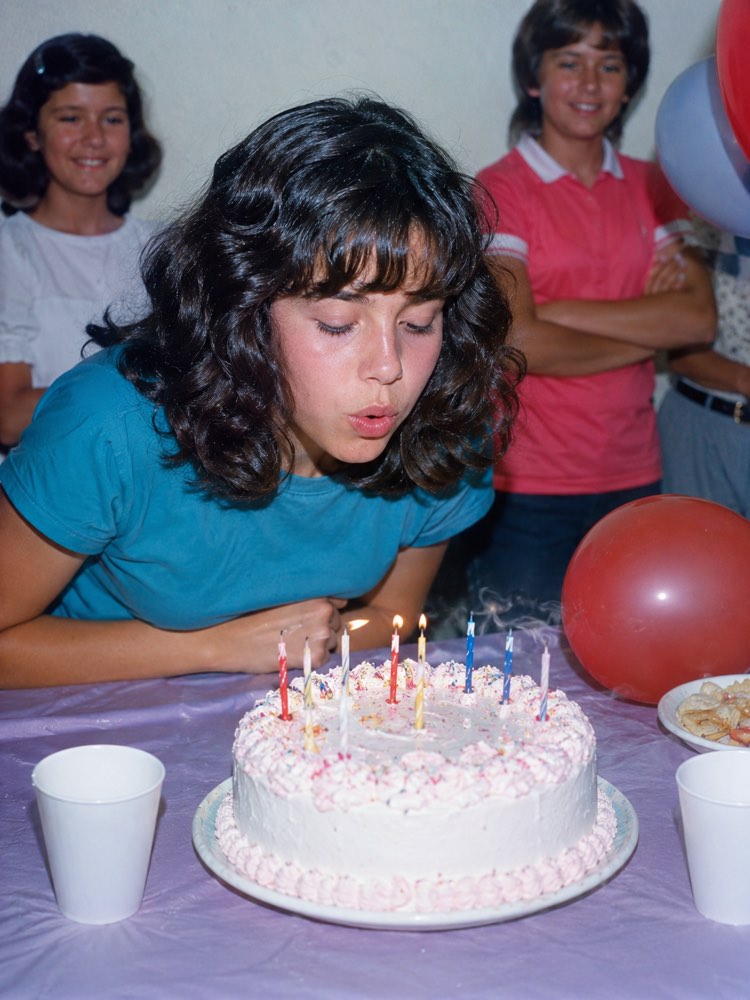
It is worth opening the photography hub and comparing the examples before choosing: identifying the right kind of damage is half the job, and it takes less time than generating the same wrong thing three times.
Repair the paper before asking for colour
This is the reversal that pays off most. Creases, stains and tears confuse colourisation, because the AI reads a stain as a shadow and paints on top of it.
Start by cleaning. Remove Yellowing and Stains From an Old Photo lifts the layer of time covering the whole image, and Restore a Torn and Creased Photo With AI deals with the fold that spent twenty years in a wallet.
A missing piece is another problem, and a more delicate one: Rebuild a Damaged Corner or Area of a Photo fills in what vanished, and there it is worth checking with family eyes, because it rebuilds the likely, not what was actually there. A photo that is too bright, burnt by sun or flash, is recovered with Fix an Overexposed or Sun-Burnt Photo, and it needs that step before colour, otherwise the white area is born with no tone at all.
Which step for which photo
Getting this wrong costs wasted generations, and the table settles it in ten seconds:
| What you have | Start with | What goes wrong if you invert it |
|---|---|---|
| Black and white, whole and clean | colourise straight away | nothing, it is the simplest case |
| Black and white with a tear or crease | repair the damage, then colour | the AI paints the tear as if it were a shadow |
| Brown studio shot, oval frame | sepia treatment | turning it black and white erases the period mood |
| Colour, faded or gone orange | revive the existing colour | colourising throws away the colour that was still there |
| Too bright, no detail in the whites | fix the exposure first | the burnt area accepts any colour and comes out flat |
What AI gets right and what it guesses
It is worth knowing where to trust it, because that decides what you will fix in the second message.
It comfortably gets right anything with predictable colour: skin, sky, grass, wood, brick. It guesses at everything that is a human choice, and it is a short and always identical list: clothes, curtains, wallpaper, cars, flowers and eyes. If your photo has a party dress in the middle of it, expect a second round. The guide to restoring old photos covers the damage step more calmly, and this colour part remains a conversation.
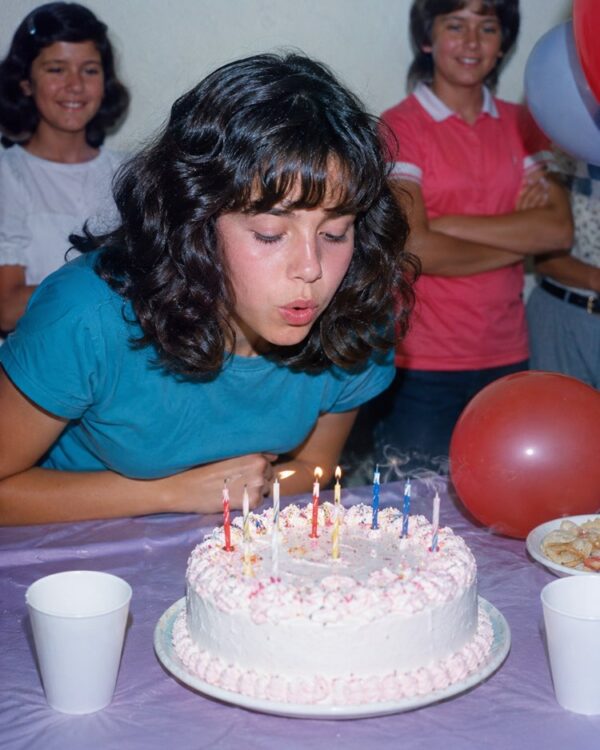
The way to correct is as simple as it gets and almost nobody uses it: reply in the same conversation, without re-uploading the photo. A sentence like “the dress was dark green and the car behind was beige” is enough, and the result beats rewriting the whole prompt. Restore a Baby or Childhood Photo With AI is where that conversation pays off most, because it is where the family remembers the detail sharply.
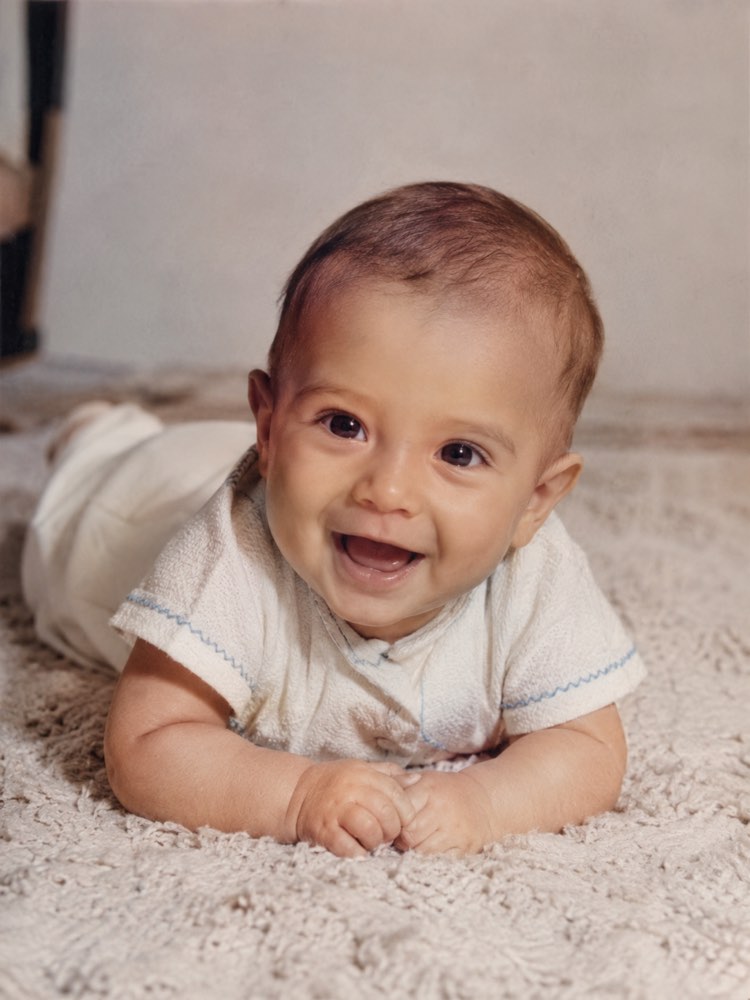
And there is an honest limit: skin. Colourisation tends to flatten skin tone, and in family photos that erases real difference between the people in the portrait. It is worth looking closely at that point and asking for an adjustment, because it is the error that bothers the people in the picture the most.
From the loose photo to the album that tells the story
Once the photo is good, it usually becomes something else: a present, a framed print, a message in the family group. Ten more minutes there are worth it.
Restore an Old Wedding Photo With AI is the most common anniversary request, and Bring the Whole Family Into One Portrait With AI solves what no restoration solves: putting people who were never photographed together into a single frame.
To close the story, the Three-Generation Family Portrait With AI is the picture almost every family postponed, and the Build the Family Tree organises the names and dates while the older relatives can still tell them. The two together turn a pile of loose photos into a story with an order.
One practical archiving tip: always keep the scanned original, untreated, alongside the coloured version. The coloured one is what moves people, but the original is the document, and in five years there will be a better tool than today’s.
The order that works
Put it together in one fifteen minute sitting:
- Photograph the photo by the window, out of the glass and without flash. This step sets the ceiling for everything that follows.
- Repair the damage before the colour. Yellowing, tears and creases first, always.
- Colourise asking for natural tones. Ask for restraint: excess saturation is what gives colourisation away from across the room.
- Correct in the same conversation. Say the colours the family remembers, one sentence, without re-uploading.
- Keep both versions. The scanned original is the document and the coloured one is what goes to the group chat.
Quick questions
Can I colourise a black and white photo for free?
You can. The free tiers of assistants that accept images usually allow a handful of generations a day, enough for one or two photos. The ceiling shows up when you want to digitise a whole box over a weekend.
Is the colour the AI chose the real colour?
Not necessarily, and it is worth saying so to the family before showing them. AI gets the plausible right, and what makes it faithful is the information only you have. A colourised photo is a beautiful interpretation, not a document.
Do I need a scanner or will my phone do?
The phone does the job in most cases, as long as the photo is out of the glass and lit by a window. A scanner helps when the photo is very small or has heavy paper texture, because it preserves more fine detail.
Does the AI get clothing colours right?
That is exactly where it misses most, because clothes have no predictable colour. Run Colourise a Black and White Photo With Natural Tones first and then correct item by item in the conversation, which is faster than trying to describe everything up front.
Can I colourise a photo with lots of people?
You can, but expect less precision. The more faces, the smaller each one is and the more the AI generalises skin tone and clothing. In a class photo, generate first and then ask for adjustments two or three people at a time.
Does the colourised photo lose quality?
It does not lose detail, but it usually comes out at another resolution with the paper texture smoothed. That is why the scanned original stays the copy you keep, and the coloured one is the copy that circulates.
Where to start today
Take one photo, the one you most want to see in colour, and shoot it by the window before closing this page. A good source photo answers nearly everything: if the result comes back faithful, the whole box becomes a weekend project. If it comes back odd, the problem is almost always the reflection off the glass.
After that, the image prompts hub holds the restoration recipes this post cited, the family and kids hub holds what to do with them once they are done, and the lesson on creating an image from a photo explains the step it all starts with.