 Prompt
How to Create an AI Image From Your Own Photo
You have seen it on your feed. A friend shows up in Paris without leaving the sofa, a colleague has a magazine style portrait that clearly no photographer ever took, and your cousin turned into a cartoon character. So you try it too: you upload your selfie, type “put me in Paris” and get back someone who looks a bit like you but is not you. Different nose, ten years younger, plastic skin and a smile you have never smiled.
That is not bad luck and it is not the wrong tool. Creating an image from a photo of yourself has its own rules, and they are not the rules of generating an image from scratch. In this lesson you will understand what artificial intelligence actually does with the photo it receives, which photo to send, how to ask in four parts and which five paths really work today. About 8 minutes of reading, and in the middle there is the part almost nobody writes: where this goes wrong and what is better left alone.
The golden rule: it does not edit your photo, it draws another one
If you keep one sentence from this page, keep this one: AI does not cut you out and paste you into a new scene, it draws a new person while looking at your photo. There is no copy of you stored anywhere. It looks, understands something like “woman in her early thirties, dark curly hair, round glasses, round face” and draws that again, from scratch, inside the scene you asked for.
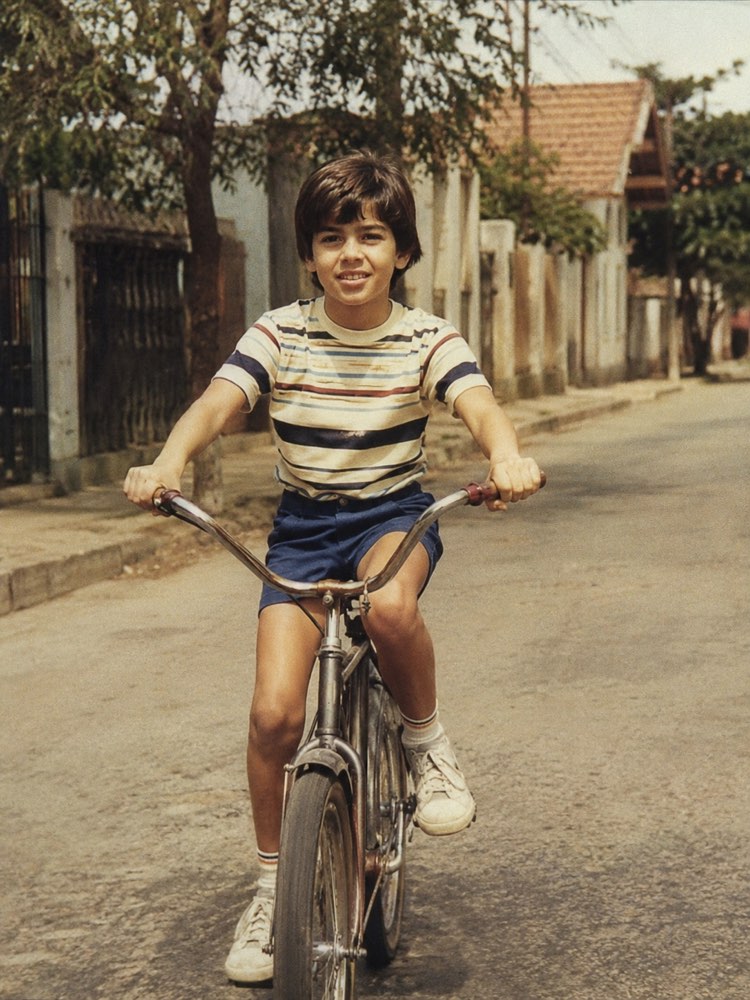
Two very useful things come out of that. The first is that resemblance has to be requested, in full: “keep my face exactly as it is in the photo, do not change my features, do not make me younger, do not make me thinner and do not smooth my skin” changes the result more than any elegant sentence about lighting. The second is that the sharper and more frontal the photo you send, the less it has to invent. A bad photo does not give a bad result by chance: it opens room for invention.
The five paths, and how much of your photo survives each one
Before picking a prompt, it helps to know what you are asking for. The table below is the summary of the whole article.
| What you want | What the AI changes | What has to stay yours |
|---|---|---|
| 1. You somewhere else | scene, light, clothes | face and body |
| 2. Your photo as art | everything, the line included | whatever makes people recognise you |
| 3. Professional portrait | background, clothes, lighting | real face and real age |
| 4. Trying a look on | one detail only | the whole rest of the photo |
| 5. Fixing the photo | the damage, the colour, the sharpness | the scene exactly as it was |
Notice how the right hand column tightens and loosens. In paths 1, 3 and 4 resemblance is everything: if the face changes, the result is useless. In path 2 it is the opposite, because nobody expects a watercolour to show your pores. That is why one generic request cannot serve all five.
The photo you send decides half the result
This is the part people skip, and the cheapest one to fix, because it costs no generation at all. Four things matter, in this order: a large face in the frame (close up, not that full body shot on the beach), light on your face rather than behind it, eyes open and visible, and nothing covering your face, which includes sunglasses, a low cap and a mask.
Three details make a difference and hardly anyone mentions them. A heavy social media filter gets in the way, because the AI copies the filter thinking that is your skin. A group photo confuses it, and the result tends to blend two people into one. And if the only decent photo you have is shaky or out of focus, run it through Sharpen a Blurry Photo in Seconds first and use the clean version as your material. Fixing before creating saves you five attempts later.
The request has four parts
A prompt with a photo attached is not one sentence, it is four short blocks. Without them the AI fills the gaps on its own, and it always fills them the same way: younger person, thinner person, studio lighting.
- What to preserve. Face, age, skin tone, body shape, hair. Write that it must be kept, and write what must not be done.
- What changes. Scene, clothes, era, style. One thing at a time works better than swapping everything in the same sentence.
- The scene. Where, what time, what light, what shows up behind you. Light is what separates a montage from a photograph.
- The framing. Portrait or landscape, how much of the body appears, whether it has to fit a square profile picture.
The prompts on this site already come with the four blocks written, which is why they take less work than starting from nothing. If you want to understand the machinery behind them and write your own, the lesson on how to write an image prompt takes each part apart with examples.
Path 1: you somewhere you have never been
This is the use that fills timelines and the easiest one to get wrong, because the scene is the simple part and the hard part is still being you inside it. What solves it is choosing a scene with defined light instead of asking for “somewhere nice”. The Eiffel Tower at dusk has warm side light, and your photo has to match it.
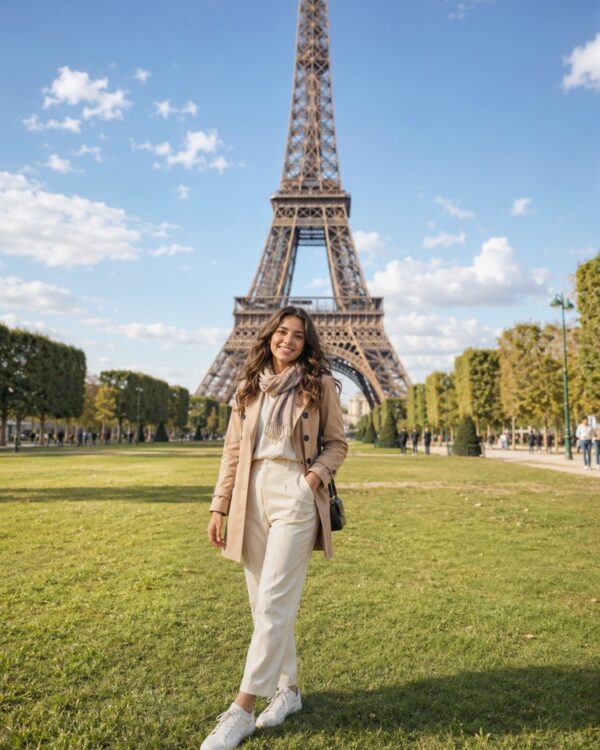
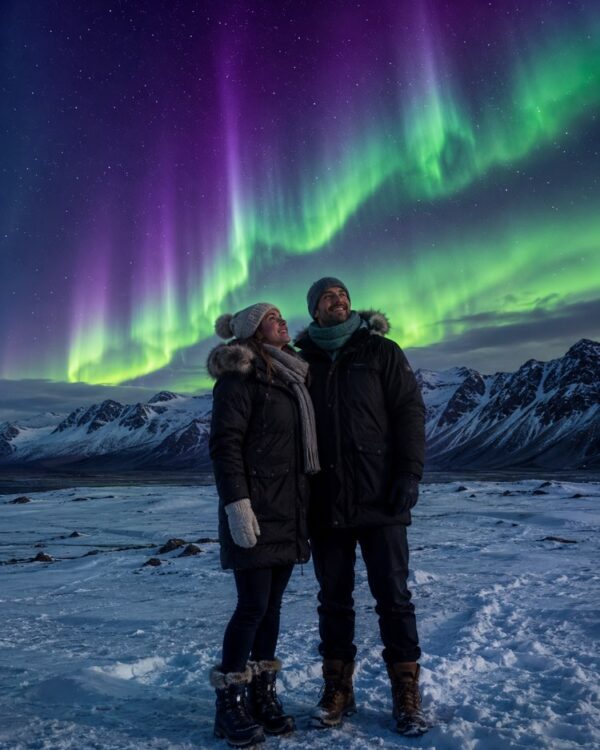
Start with Your Photo at the Eiffel Tower in Paris With AI, the most direct request of the genre, which already carries the distance and the angle that keep a face from disappearing. Then try a scene with difficult light, such as You Under the Northern Lights in Iceland with AI: an aurora is green light coming from above, and that kind of detail is exactly what makes an image look like a photograph instead of a sticker glued onto a background.
One common sense rule closes this path: a trip that never happened is fun while everyone knows it is fun. Posting it as real is another story, and it comes back as embarrassment.
Path 2: your photo turned into art
Here resemblance can and should be loosened, because the whole point is seeing yourself translated into another line. It is the most fun path, the one that depends least on a perfect photo and the one that produces the cheapest good presents.
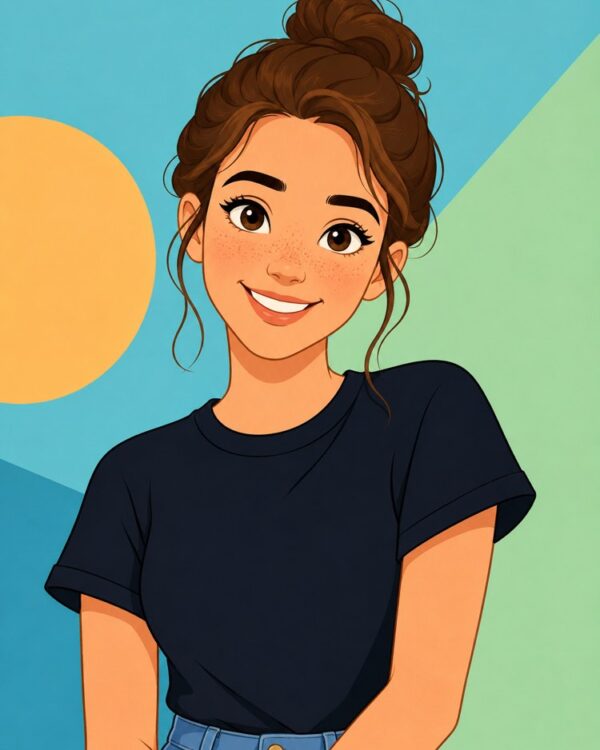
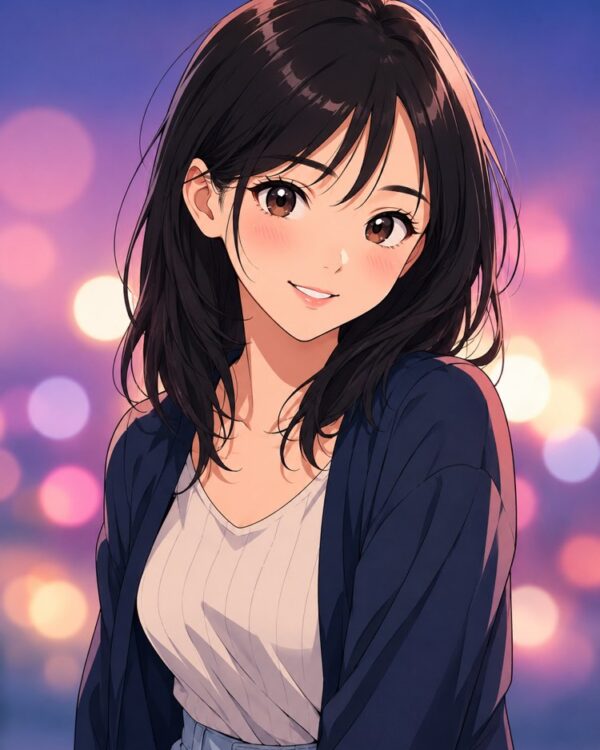
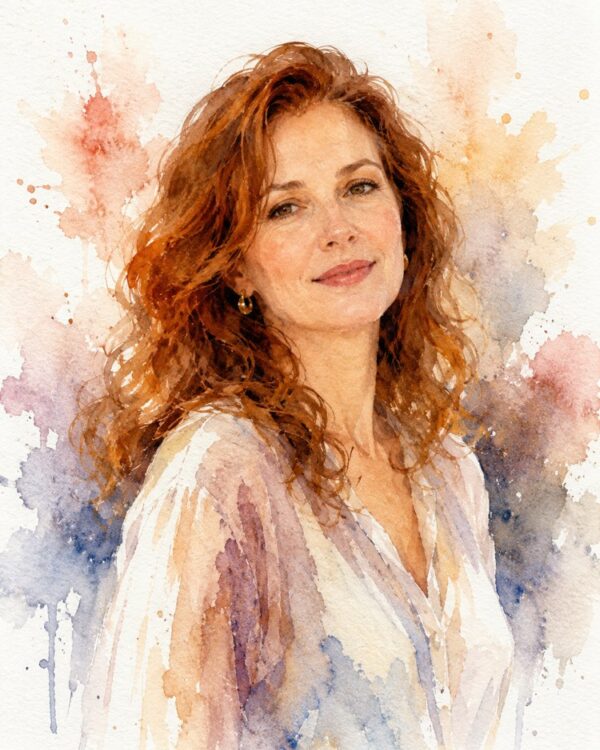
For the most requested style, Turn Your Photo into a Modern 2D Cartoon with AI is the starting point, and Your Photo in Modern Anime with AI is its sibling for anyone who grew up watching Japanese animation. If the idea is to frame it and give it as a gift, Turn Your Photo into a Watercolor Portrait ages better than any style of the moment. To laugh at your own face, Caricature in 3D Animation Style exaggerates what is already yours, and Turn Your Photo Into a Cute Plushie is the one that always wins the family group chat.
A tip that holds for all five: ask for one variation at a time and keep the one that worked. People who ask for “five different styles” in the same message usually get five mediocre results.
Path 3: the profile picture that works for your job
This path has the most concrete payoff and the hardest rule: here resemblance is not taste, it is honesty. The person on the other side will meet you in a meeting, and a photo promising someone ten years younger creates a small, unnecessary awkwardness right at the start of the conversation.
That said, it works very well. Casual Startup Corporate Photo with AI solves the most common case, which is needing a decent LinkedIn photo without booking a session. For a CV, a talk or a firm’s website, Black and White Executive Portrait has the advantage that black and white forgives skin, clothing colour and background all at once.
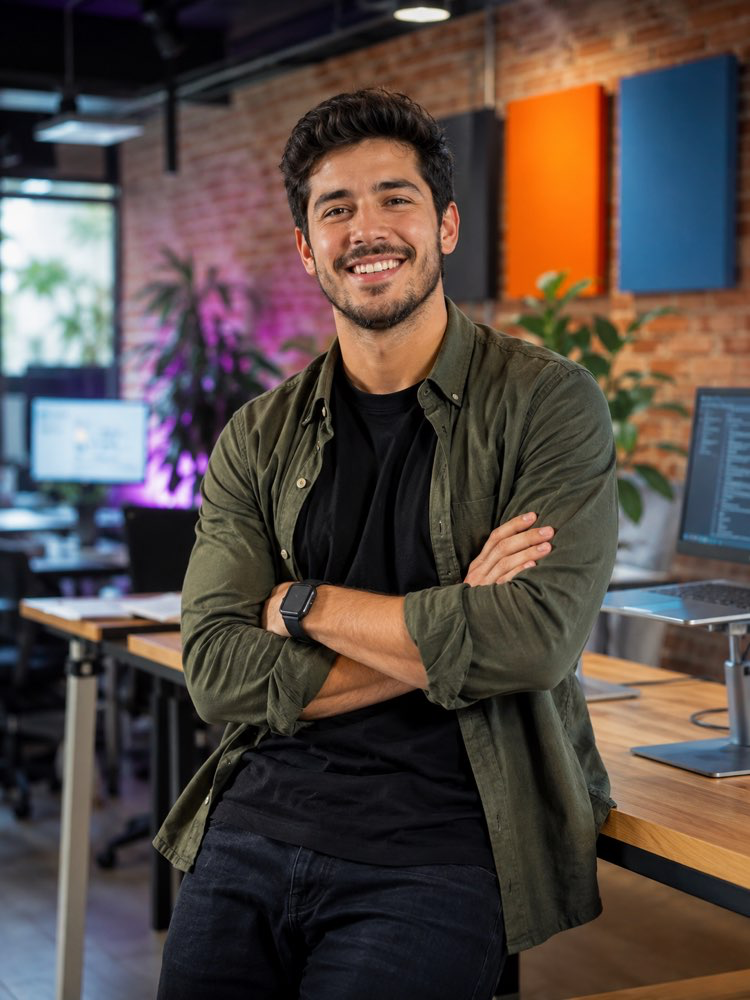
In either of them, write down the age you actually are. Without that the AI rejuvenates by default, and then you are left wondering whether the photo came out good or just came out unrecognisable.
Path 4: trying something on before deciding
This is the most useful use and the least discussed. Instead of creating an image to show other people, you create one to decide something about your life, and the image disappears afterwards. It changes one detail and keeps everything else, which makes it the path most likely to work on the first try.
Before dyeing your hair, Change Your Hair Colour With AI on Your Photo shows blonde on your skin tone rather than on the model’s in the catalogue. Before buying frames, Try On Sunglasses on Your Photo tests five models in five minutes. And before anything permanent, Preview a Tattoo on Your Photo Before Getting It settles the question of size and placement, which is where regret lives.
In these three, be strict about the preservation request. If the AI takes the opportunity to improve your chin, the test lost its point: you are no longer looking at yourself.
Path 5: fixing the photo you already have
Not every image made from a photo is a new photo. Sometimes what you want is the same photo, back the way it used to be. It is the quietest path and the one that moves people most, because the material usually comes from that box of prints at your grandmother’s house.
The most requested one is Colourise a Black and White Photo with Natural Colours, and the word doing the work there is “natural”: without it the AI delivers postcard colour and the photo loses the age it had. If the problem is yellowing, a tear or a crease, the subject is bigger than this lesson and there is a whole guide on restoring old photos.
Where this goes wrong
Four situations, and all of them become obvious once someone points them out.
Hands, teeth and text. This is where AI still slips most. Before saving any image, look at the fingers, the teeth and any word written in the scene. If a hand looks strange, asking again with “hands out of frame” is faster than trying to fix it.
Other people’s photos. Uploading someone else’s face, a child’s above all, is asking for consent you do not have. Simple rule that avoids trouble: your photo, and the photo of whoever said yes.
Documents. A generated image is not valid as a passport photo, an ID or proof of anything. It sounds obvious written down, but it is tempting when the portrait came out well, and on an official document that is fraud, not a shortcut.
Passing it off as real. The line is thin and easy to see: use this to have fun, to see yourself differently and to decide things. Do not use it to claim you were somewhere you were not, or to put yourself next to a famous person suggesting a meeting that never happened.
Quick questions
Can I create an image from a photo for free?
Yes, and that is where most people start. Free tiers usually cap how many images a day and hand back less resolution, which is fine for social media and tight for printing. The full inventory of what the free tier handles is in the lesson on free AI.
Why does the image not look like me?
Almost always for one of three reasons: the photo had a small face or a side profile, the request never asked to preserve your features, or the chosen style is so strong that it ate the resemblance. Fix it in that order: the photo first, then the preservation sentence, and only then the style.
How many photos do I need to send?
One good one is usually enough for a portrait or a scene. Two or three help when the face appears at different angles, and then it is worth sending one front on and one at three quarters. Sending ten similar photos improves nothing and only makes the answer slower.
How do I turn a photo into a drawing with AI?
Pick the line before writing the request, because “drawing” can mean cartoon, anime, watercolour, caricature or painting, and each one needs different words. Then say what has to stay recognisable, which is usually hair, glasses and the shape of the face.
Can I do all of this on my phone?
You can, and it is even more practical, because the photo is already in the gallery. The catch is a different one: on a phone we tend to send the latest selfie instead of the best photo, and the latest selfie is almost never the best photo.
Is the image I created mine?
For personal use and for your own social media, in practice yes, and each service’s rules sit in the terms almost nobody reads. For commercial use, read those terms first, and avoid a style glued to a living artist or a well known franchise, which is where the discussion gets genuinely complicated.
Where to start today
Pick a photo of yourself with a large, well lit face, and do path 4 only, because it is the one that gives a useful result on the first attempt: try on a pair of glasses, a hair colour or a tattoo. After that, with the same photo, try one of the art styles. Two attempts are enough for you to feel the difference the preservation sentence makes.
When you want to go further, the image prompts hub has the full collection, and the lesson on how to write a prompt teaches you to adjust any of these to your own case. A clear request saves attempts, and with images attempts are the only thing the free tier counts.